How to Set Tire Pressure for Track Days & Autocross
Tire pressure is the cheapest and most immediate handling adjustment available to you at any track event. Getting it right won't make a slow driver fast, but getting it wrong will make a fast driver slow — and it compounds across the whole contact patch, affecting braking, turn-in, mid-corner grip, and traction on exit all at once.
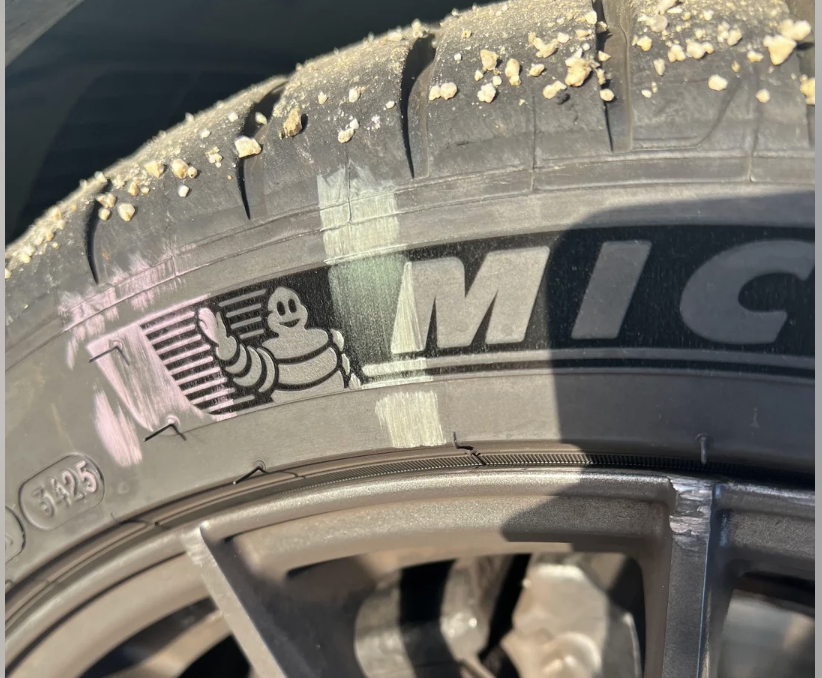
I run a 2000 Honda S2000 AP1 — a car that is famously oversteer-happy from the factory. My current cold starting pressures are 32 psi front, 30 psi rear. That two-pound rear differential isn't random: running slightly lower rear pressure gives the rear contact patch a little more compliance under load, which takes the edge off the S2000's snap-oversteer tendency. It's a small adjustment that has a noticeable effect on balance, especially at autocross where you're loading and unloading the tires quickly through tight transitions.
Most drivers arrive at their first event, leave pressure at whatever it was on the drive in, and wonder why the car feels inconsistent. This guide covers what's actually happening, and gives you a session-by-session process for HPDE and autocross alike — including how to use front/rear differential as a handling tool.
Cold vs Hot Pressure — Understanding the Difference
Tire pressure increases as the tire heats up. This is physics: the air inside expands as temperature rises. A tire at 32 psi cold will typically read 38–44 psi after a full session on track, depending on the tire compound, ambient temperature, and how hard you're driving.
This matters because:
- Cold pressure is what you set before the car moves. It's your starting point and the number you control.
- Hot pressure is what the tire is actually running at during a session. This is the pressure that determines grip, contact patch shape, and wear.
- Your goal is to set cold pressure such that hot pressure lands in the tire's optimal operating range.
A common mistake: you check pressure after a session, see 42 psi, and bleed it down to your cold spec of 32 psi. Now when the tire cools, you're at 22 psi — dangerously low. Always let tires cool fully before adjusting pressure, or work from your hot targets intentionally.
Where to Start
There is no universal "correct" track pressure. The right number depends on your car, your tires, the ambient temperature, and your driving style. That said, these starting points work for most street and 200TW tires at HPDE and autocross events:
| Tire Type | Cold Starting Pressure | Target Hot Pressure |
|---|---|---|
| Street / All-Season | OEM spec (door jamb) | +4–6 psi over cold |
| Summer Performance (PS4S, ExtremeContact) | 32–36 psi | 38–44 psi |
| 200TW (RE71RS, RT660, A052) | 30–34 psi | 36–42 psi |
| R-Compound (Hoosier A7, Proxes RR) | 18–24 psi | 24–32 psi |
R-compound tires run at dramatically lower pressures than street tires because the softer sidewall construction and compound are designed for it. Never run R-comps at street pressures — the sidewall will overheat and the tire will feel greasy and unpredictable.
Pressure isn't just about grip — it's also a balance tool. Running slightly lower rear pressure (1–3 psi) increases rear contact patch compliance and reduces snap-oversteer tendency in rear-biased cars like the S2000, MX-5, and BRZ/GR86. Conversely, lowering front pressure slightly relative to rear can help understeer-prone FWD cars rotate more willingly. Start with equal pressures, then experiment with 2-psi differentials once you have a baseline.
The Session-by-Session Process
Dialing in pressure is a process, not a single adjustment. Here's the routine:
- Set cold pressure before you move the car. Record it. All four corners.
- Complete your session. Drive normally — don't go easy trying to "protect" the tires.
- Check hot pressure immediately after coming off track, before the tires cool. You have a 3–5 minute window. An infrared pyrometer is useful here to check temperatures across the tread width as well.
- Record hot pressures. Note the difference from cold.
- Adjust cold pressure for the next session based on where your hot pressure landed relative to your target.
- Repeat. After 2–3 sessions you'll have a consistent picture of how your car's tires behave at this track in these conditions.
Ambient temperature affects how much pressure builds. Morning sessions in cool air will show less pressure rise than afternoon sessions in 90°F heat. What worked at 9am may need adjustment by 2pm. Keep checking.
Reading Tire Wear to Confirm Pressure
Tire wear patterns are a direct readout of how the contact patch is loading. Checking wear after a session tells you whether your pressure is in the right range — even without measuring temperature.
| Wear Pattern | What It Means | Adjustment |
|---|---|---|
| Even wear across full tread width | Pressure is in range, contact patch loaded evenly | No change needed |
| Center wear heavier than edges | Overinflated — tire is crowning, edges lifting | Reduce cold pressure 2–3 psi |
| Edge wear heavier than center | Underinflated — sidewall rolling under load | Increase cold pressure 2–3 psi |
| Outside edge wear only | May also be alignment (too much negative camber) or underinflation combined with aggressive cornering | Check alignment and pressure together |
The easiest way to check wear in real time is chalk or tire crayon. Before a session, draw a line across the full tread width with chalk. After the session, check how much chalk remains. Full erasure edge-to-edge means good contact. Chalk remaining at the edges means overinflation. Chalk remaining in the center means underinflation.
Chalk for Sidewall Roll
The chalk method also works for detecting sidewall roll — when an underinflated tire folds over at the sidewall under cornering load, putting the sidewall itself in contact with the pavement. This is a sign of dangerously low pressure and accelerates sidewall wear and heat buildup.
To check: draw a chalk line vertically down the sidewall from the tread edge toward the wheel, about 1–2 inches long. After a session, inspect it. If the chalk line is smeared, scuffed, or erased at the bottom where the sidewall meets the road surface, the sidewall is rolling under load and contacting the ground. Increase pressure immediately — this much roll means the tire is working against itself and the sidewall is at risk of overheating or delaminating.
Standard sidewalk chalk works fine for both the tread and sidewall methods. Keep a few sticks in your paddock kit.
Any evidence of sidewall-to-pavement contact means you are underinflated. Don't finish the session hoping it gets better — come in, add pressure, and recheck. A sidewall that overheats can fail without warning.
Tire Pressure for Autocross
Autocross adds a wrinkle: runs are short (60–90 seconds), so the tires never reach steady-state temperature. You're optimizing for the first 30 seconds of a run when the tires are still coming up to temp, not for sustained heat.
Most autocross drivers run slightly higher cold pressures than they would for HPDE — typically 2–4 psi higher than your road course baseline. The logic: you want more hot pressure faster, so you start higher. Some drivers also stage with their tires warmed up from the previous run, which helps maintain temperature between runs on a long day.
On the S2000 I run 32 front / 30 rear cold and don't deviate much from that unless the weather swings significantly. Morning runs in cool conditions I might add 1–2 psi front; afternoon heat I leave it alone or even drop 1 psi front. The rear stays at 30 regardless — that differential is doing handling work, not just temperature management.
Your car's weight distribution matters here too. Front-heavy FWD cars often benefit from slightly lower front pressures relative to rear to help rotation. Mid-engine cars need their own baseline — they're sensitive to small changes at both ends. Find your baseline, record it, and adjust from there rather than chasing someone else's numbers.
Tools You Need
Nitrogen vs Air
You'll hear some drivers talk about filling tires with nitrogen instead of air. The argument is that nitrogen is drier than compressed air, so pressure builds more predictably as temperature increases. In theory this is true. In practice, the difference is small enough that for HPDE and autocross use, it's not worth chasing. Standard air from a compressor or gas station is fine.
If you already have nitrogen in your tires (some shops fill them that way), there's no reason to switch. But don't go out of your way to seek it out — your time is better spent on the session-by-session pressure process described above.